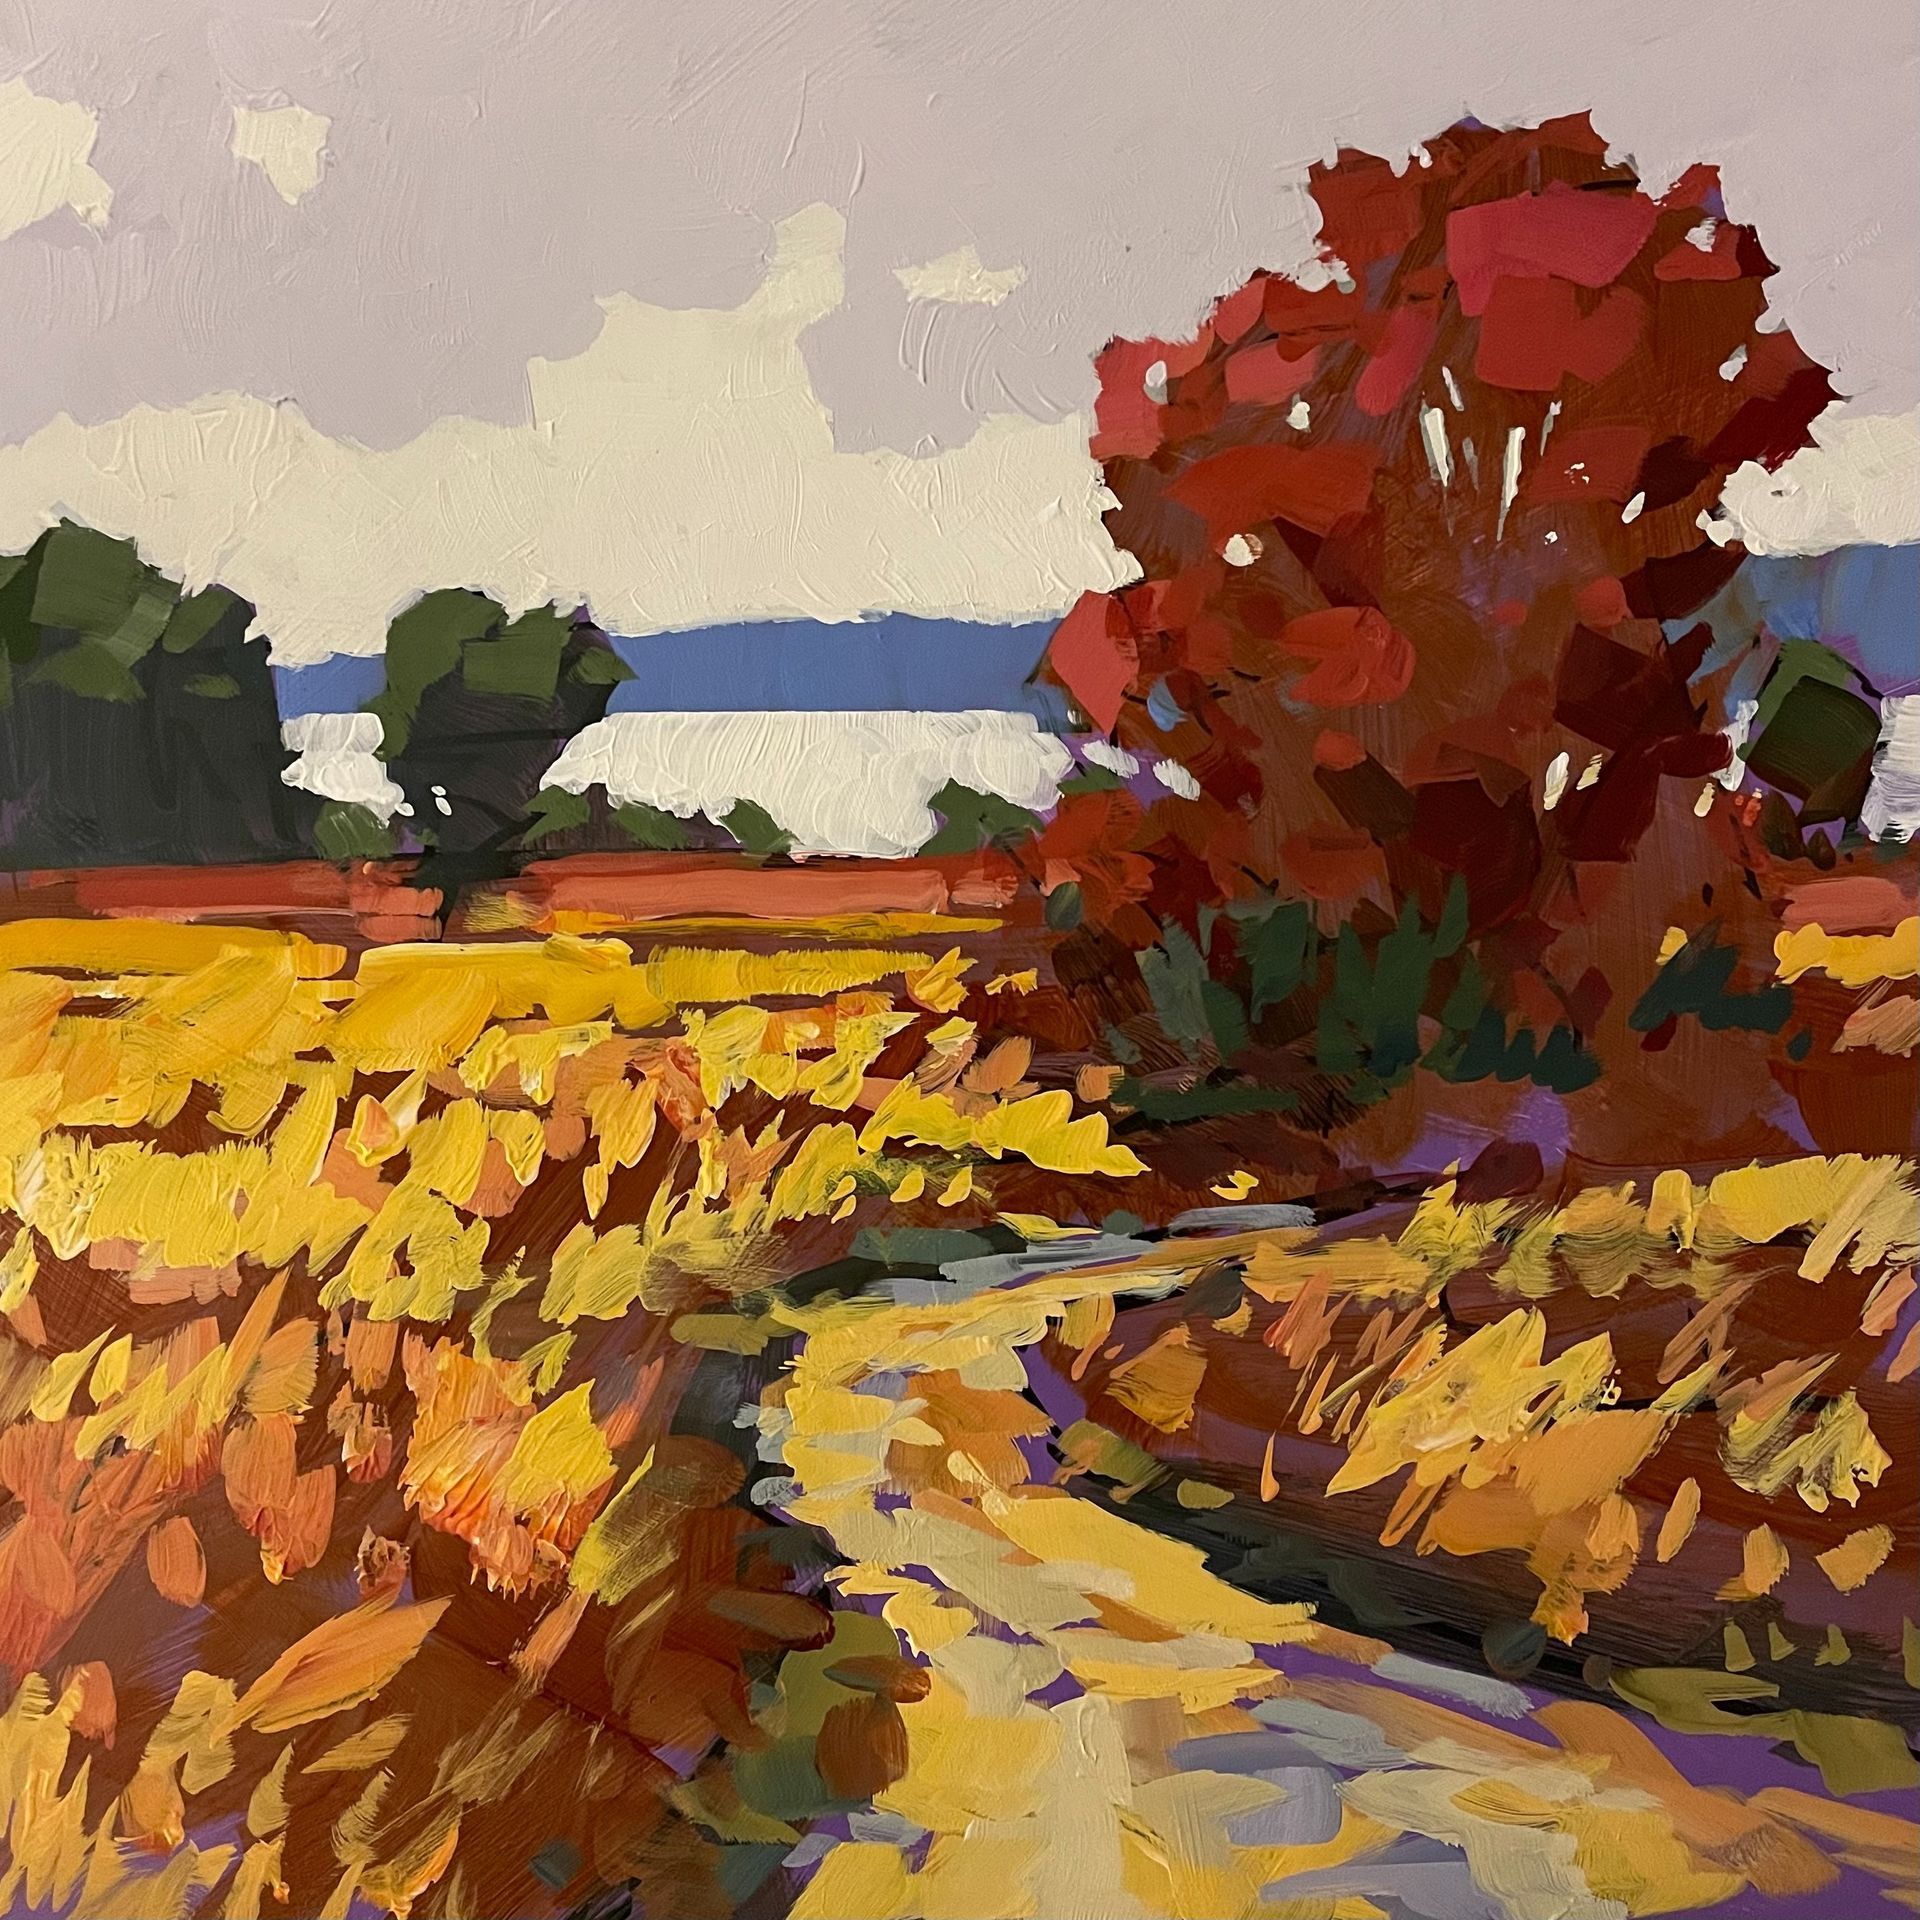
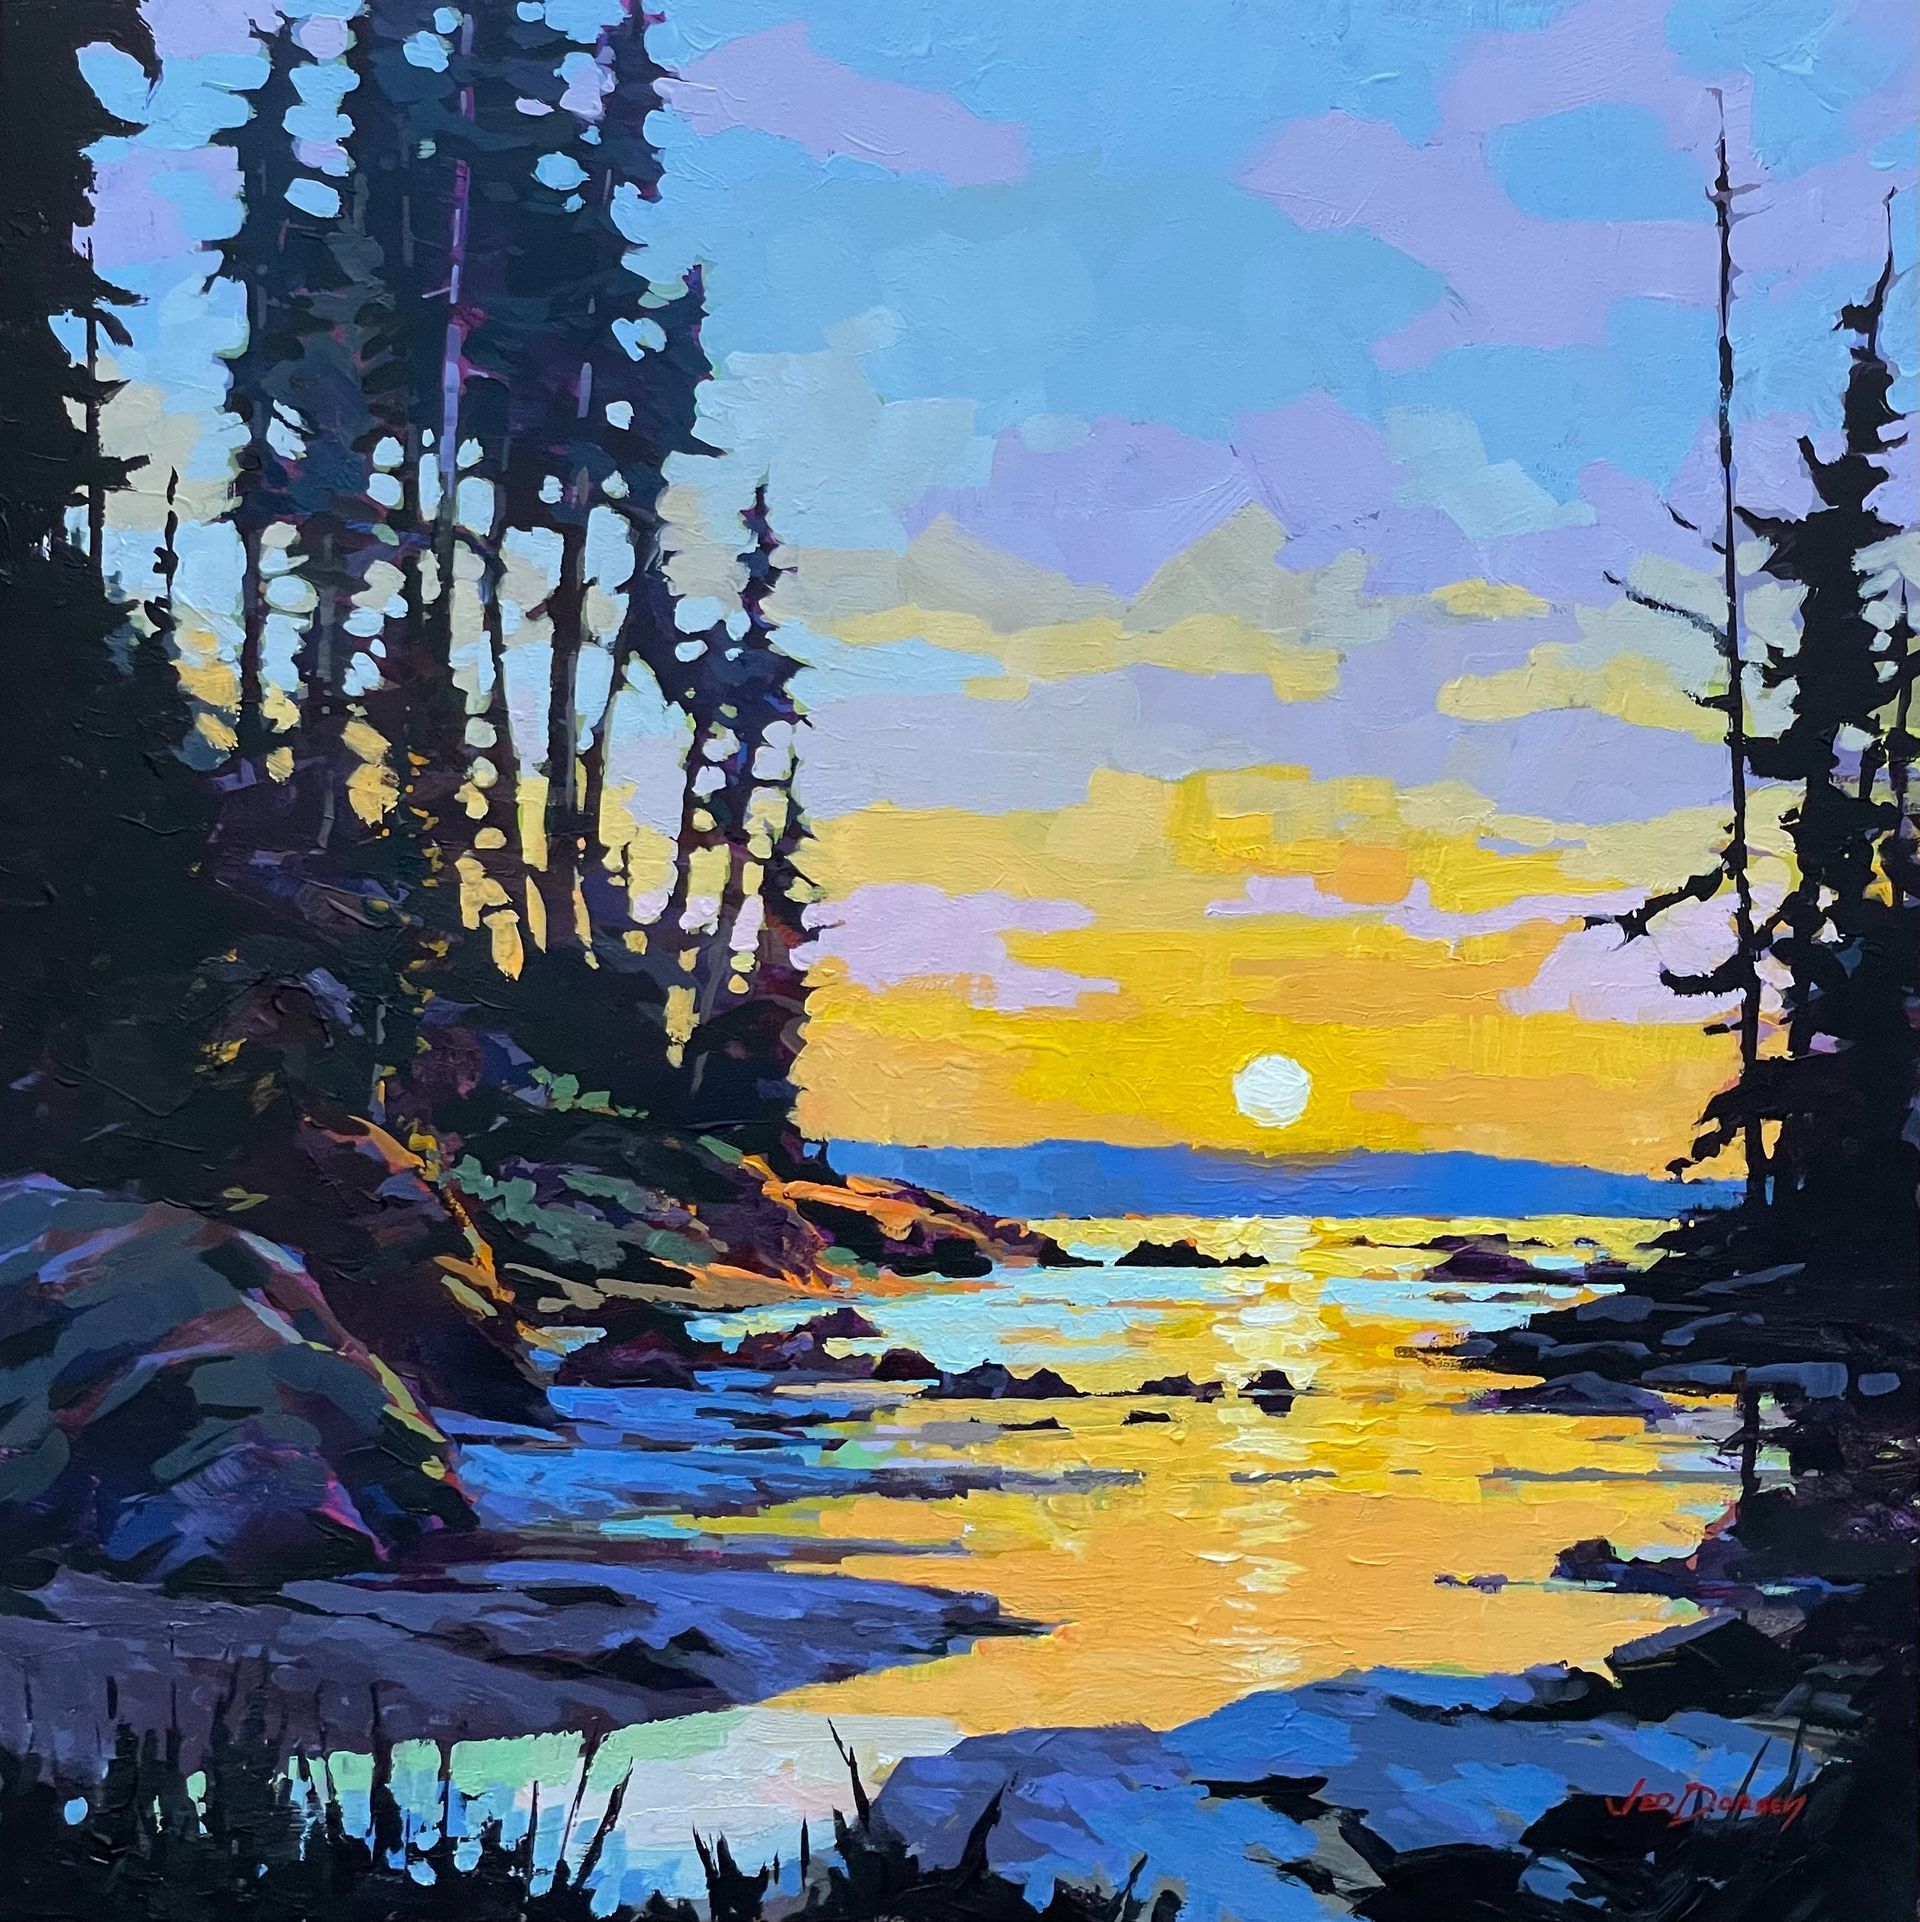
Floral Painting Practice With a Palette Knife
Paint a beautiful floral scene with a palette knife
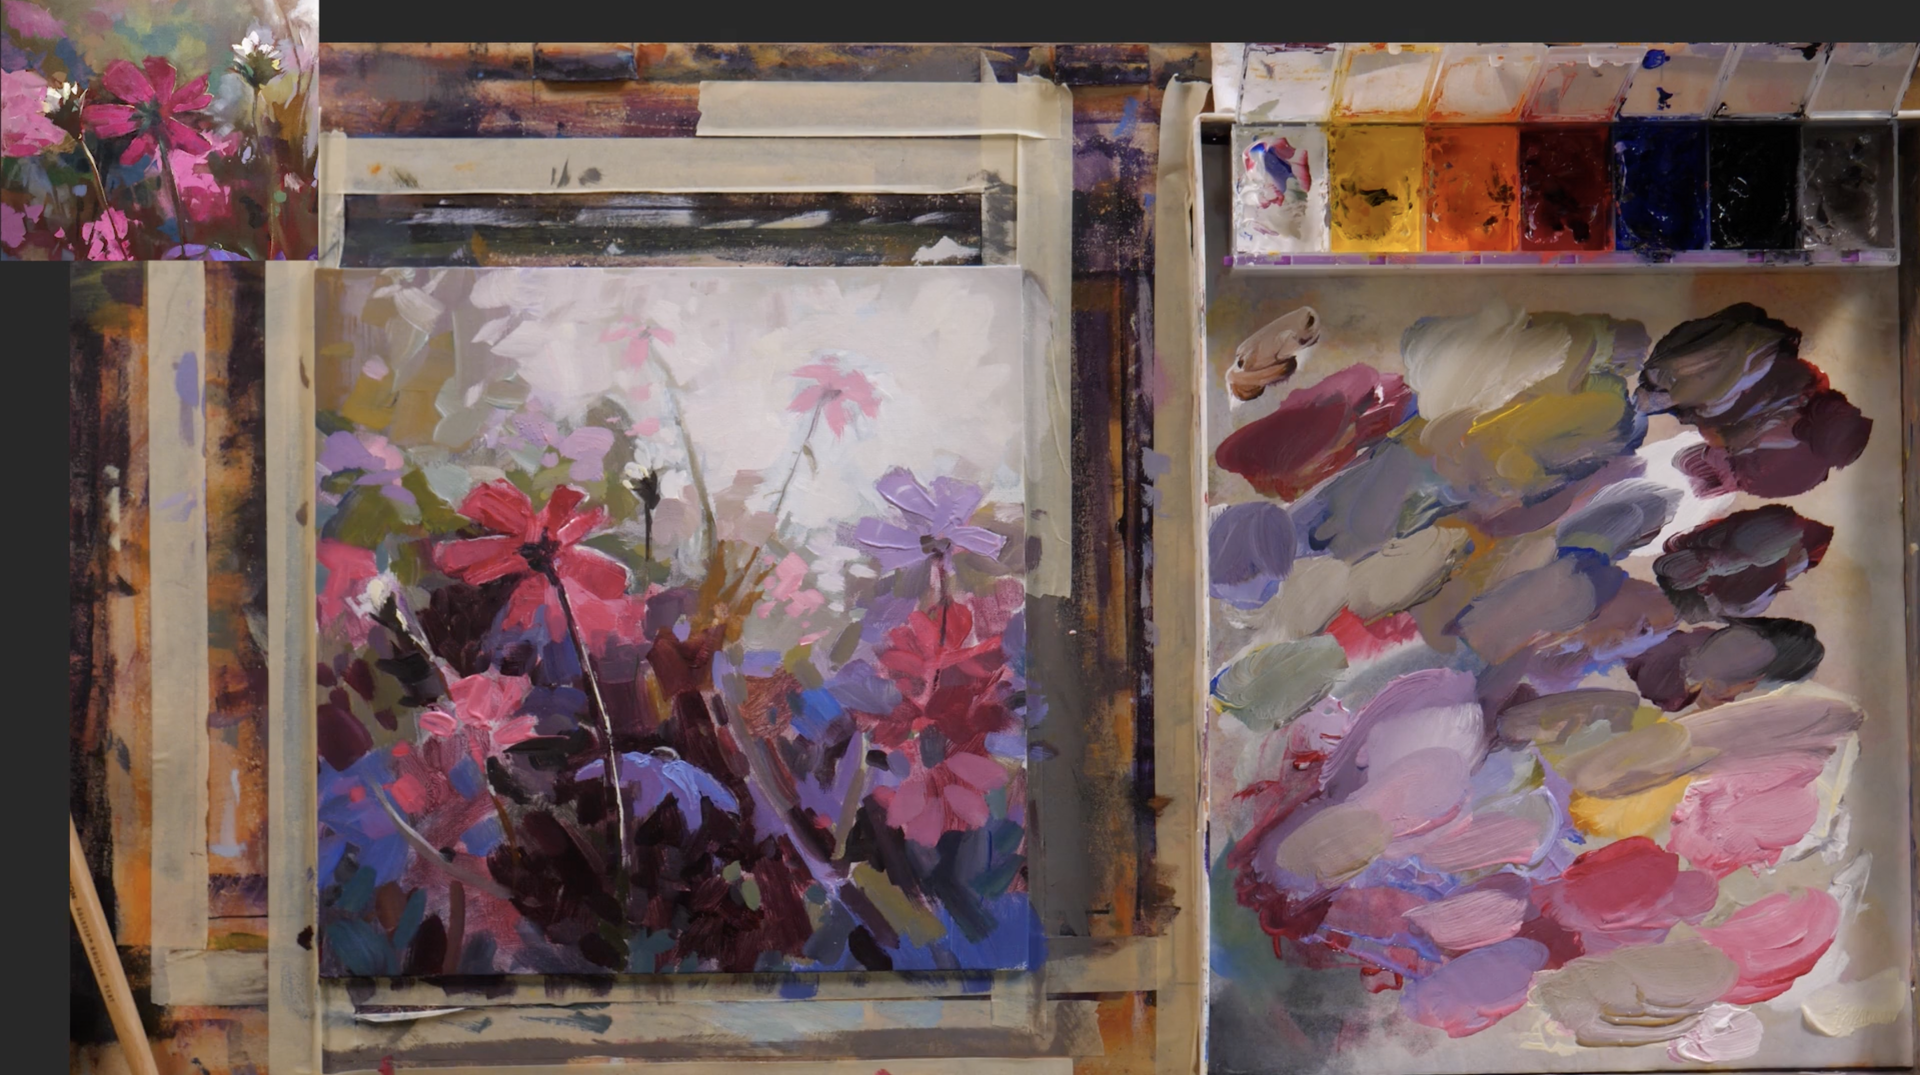
Today, we'll explore various techniques to enhance texture and depth in your artwork, using a palette knife to achieve distinct effects that brushes might not offer. Whether you're a seasoned artist or a beginner, this guide will help you understand the nuances of palette knife painting and how to apply these techniques to your own creations.
Mixing Colors and Creating Depth
Choosing and Mixing Colors
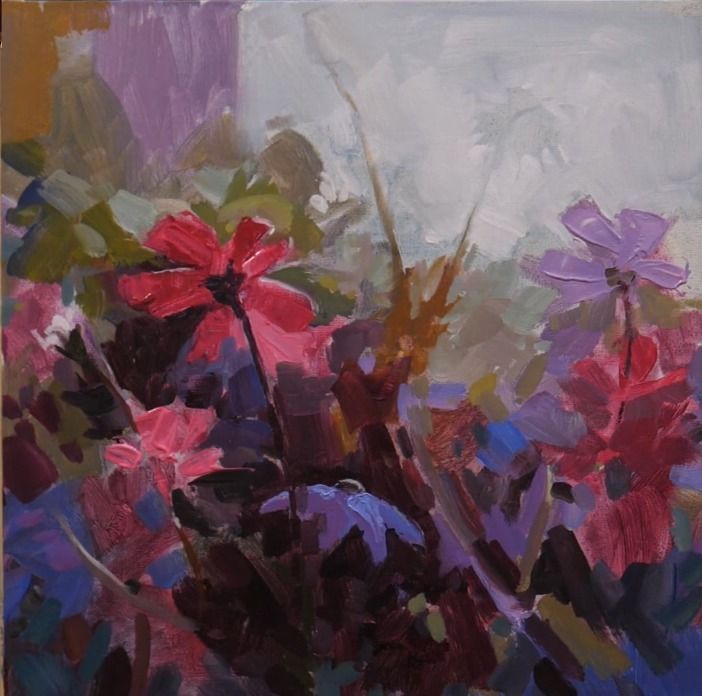
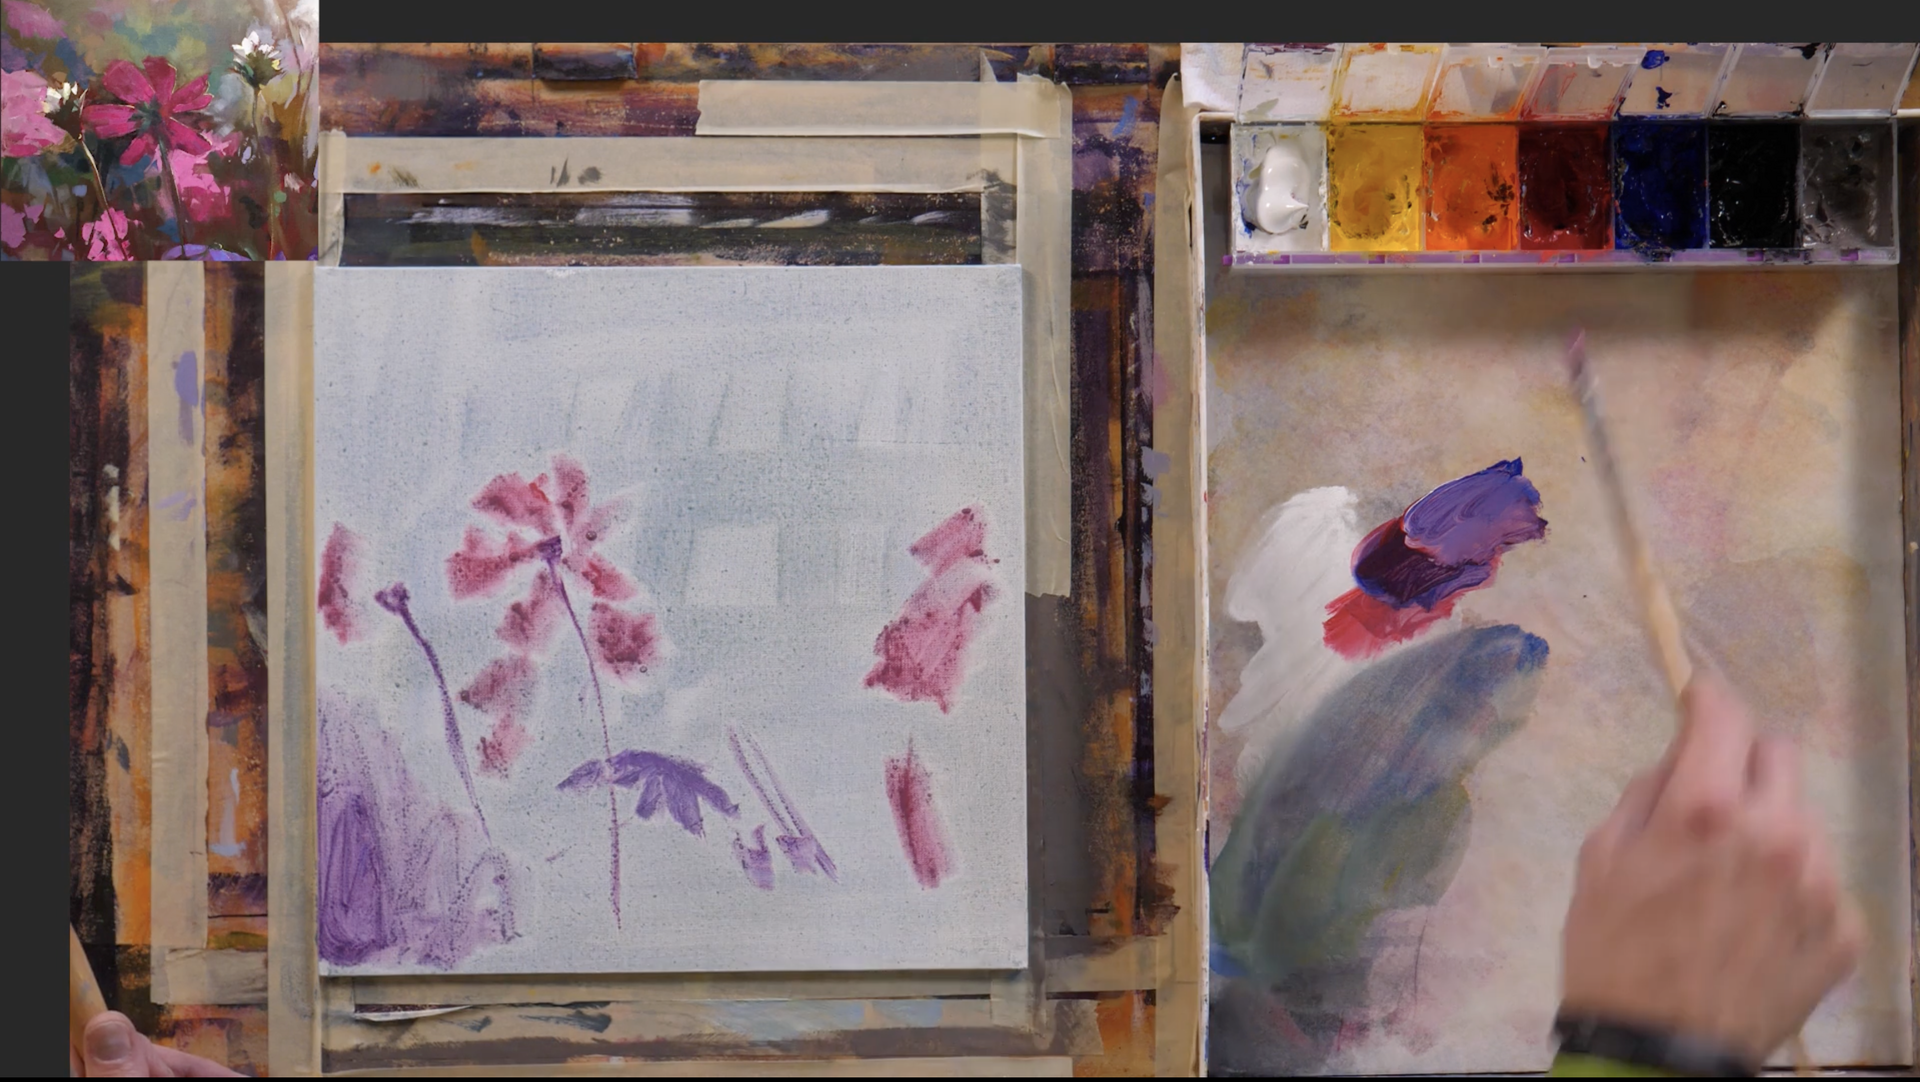
Firstly, selecting the right colors is crucial for setting the tone of your painting. For our floral scene, we begin by mixing a soft violet using pink and blue, adjusting the shades with white to achieve the desired lightness. Here’s how you can prepare your palette:
- Violet Mix: Combine pink with a touch of blue. Adjust the intensity with white to get a soft violet suitable for the background.
- Blue Variant: Add more blue to the mix for areas that require a deeper shade, creating a contrast against the lighter areas.
Creating Depth with Color Saturation
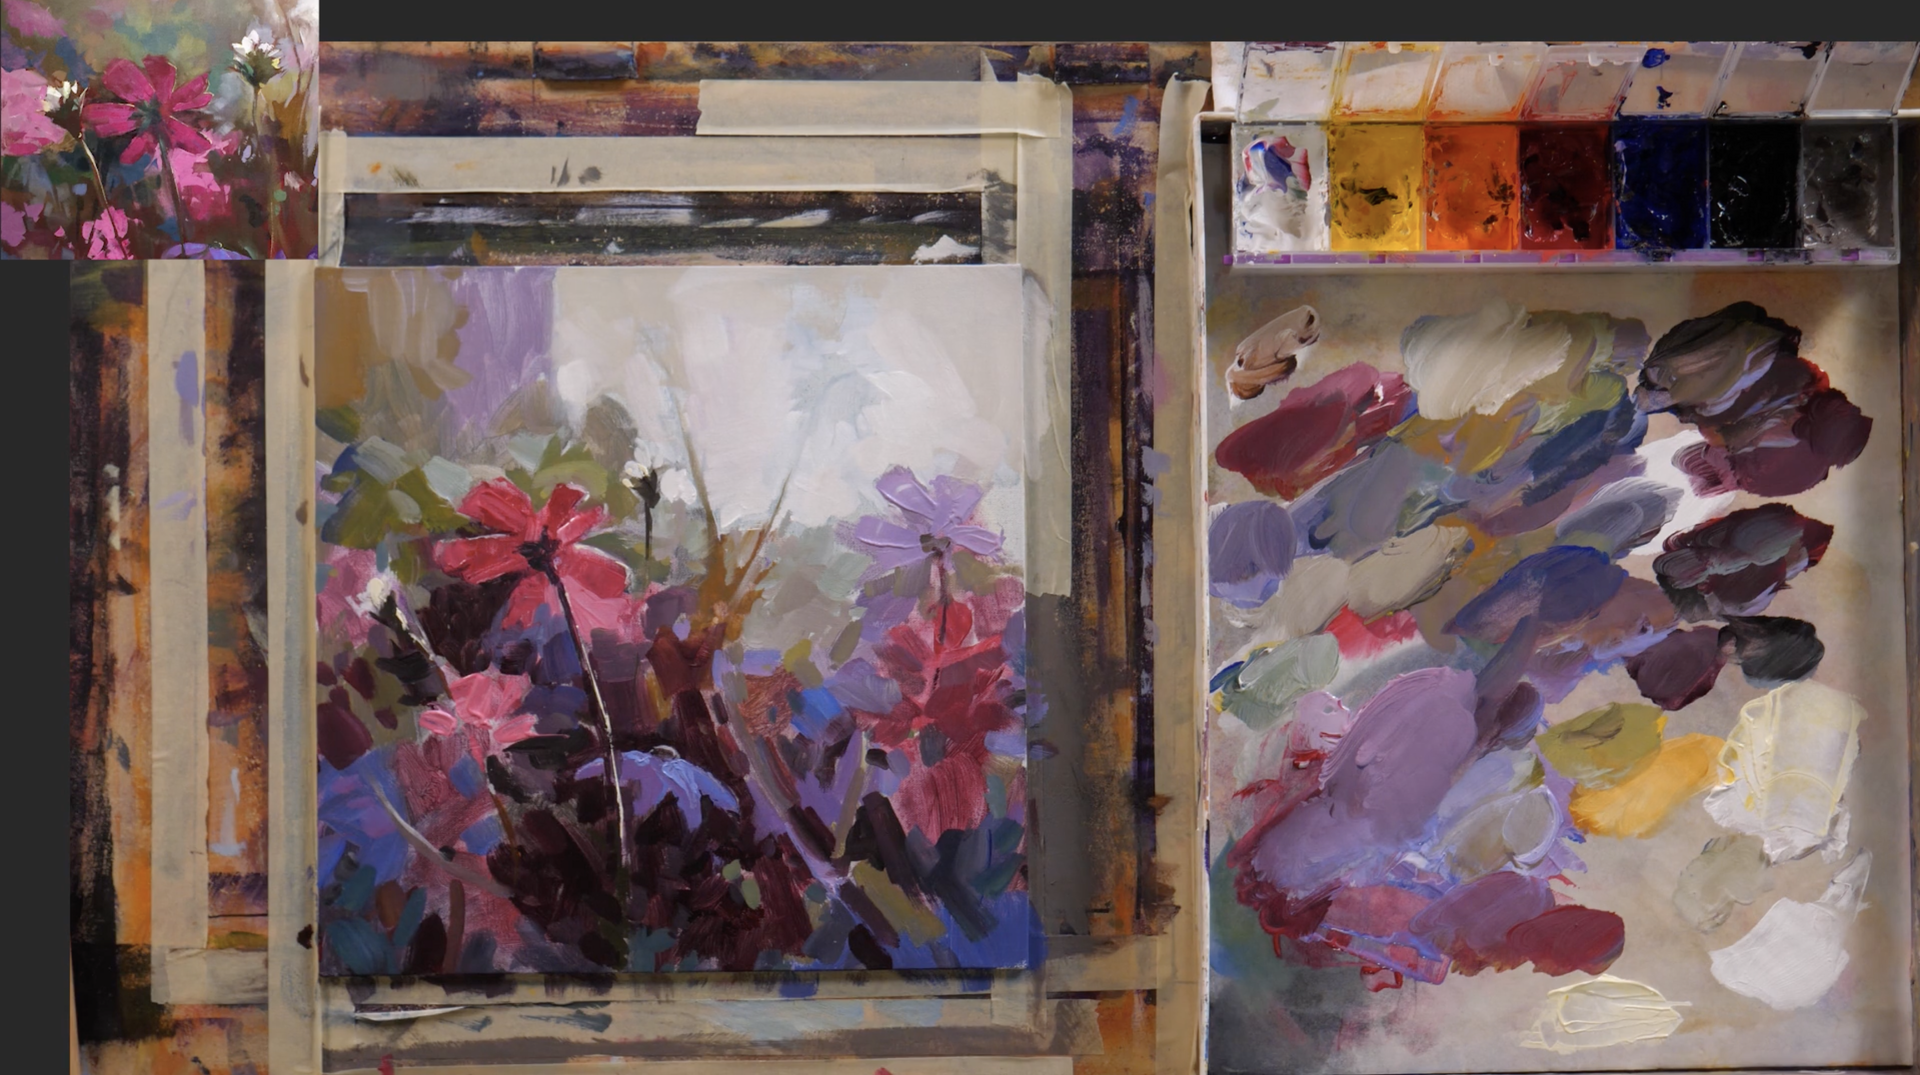
Depth in a painting is achieved by varying the saturation of colors. In the foreground, where elements should pop out more, use highly saturated colors. As we move to the background, the colors become lighter and less intense. This technique helps in creating a sense of distance between the foreground and the background.
- Foreground: Use vibrant, saturated colors for flowers and elements that need to stand out.
- Background: Mix in more white or lighter shades to reduce saturation, giving the illusion of depth.
Transitional Areas
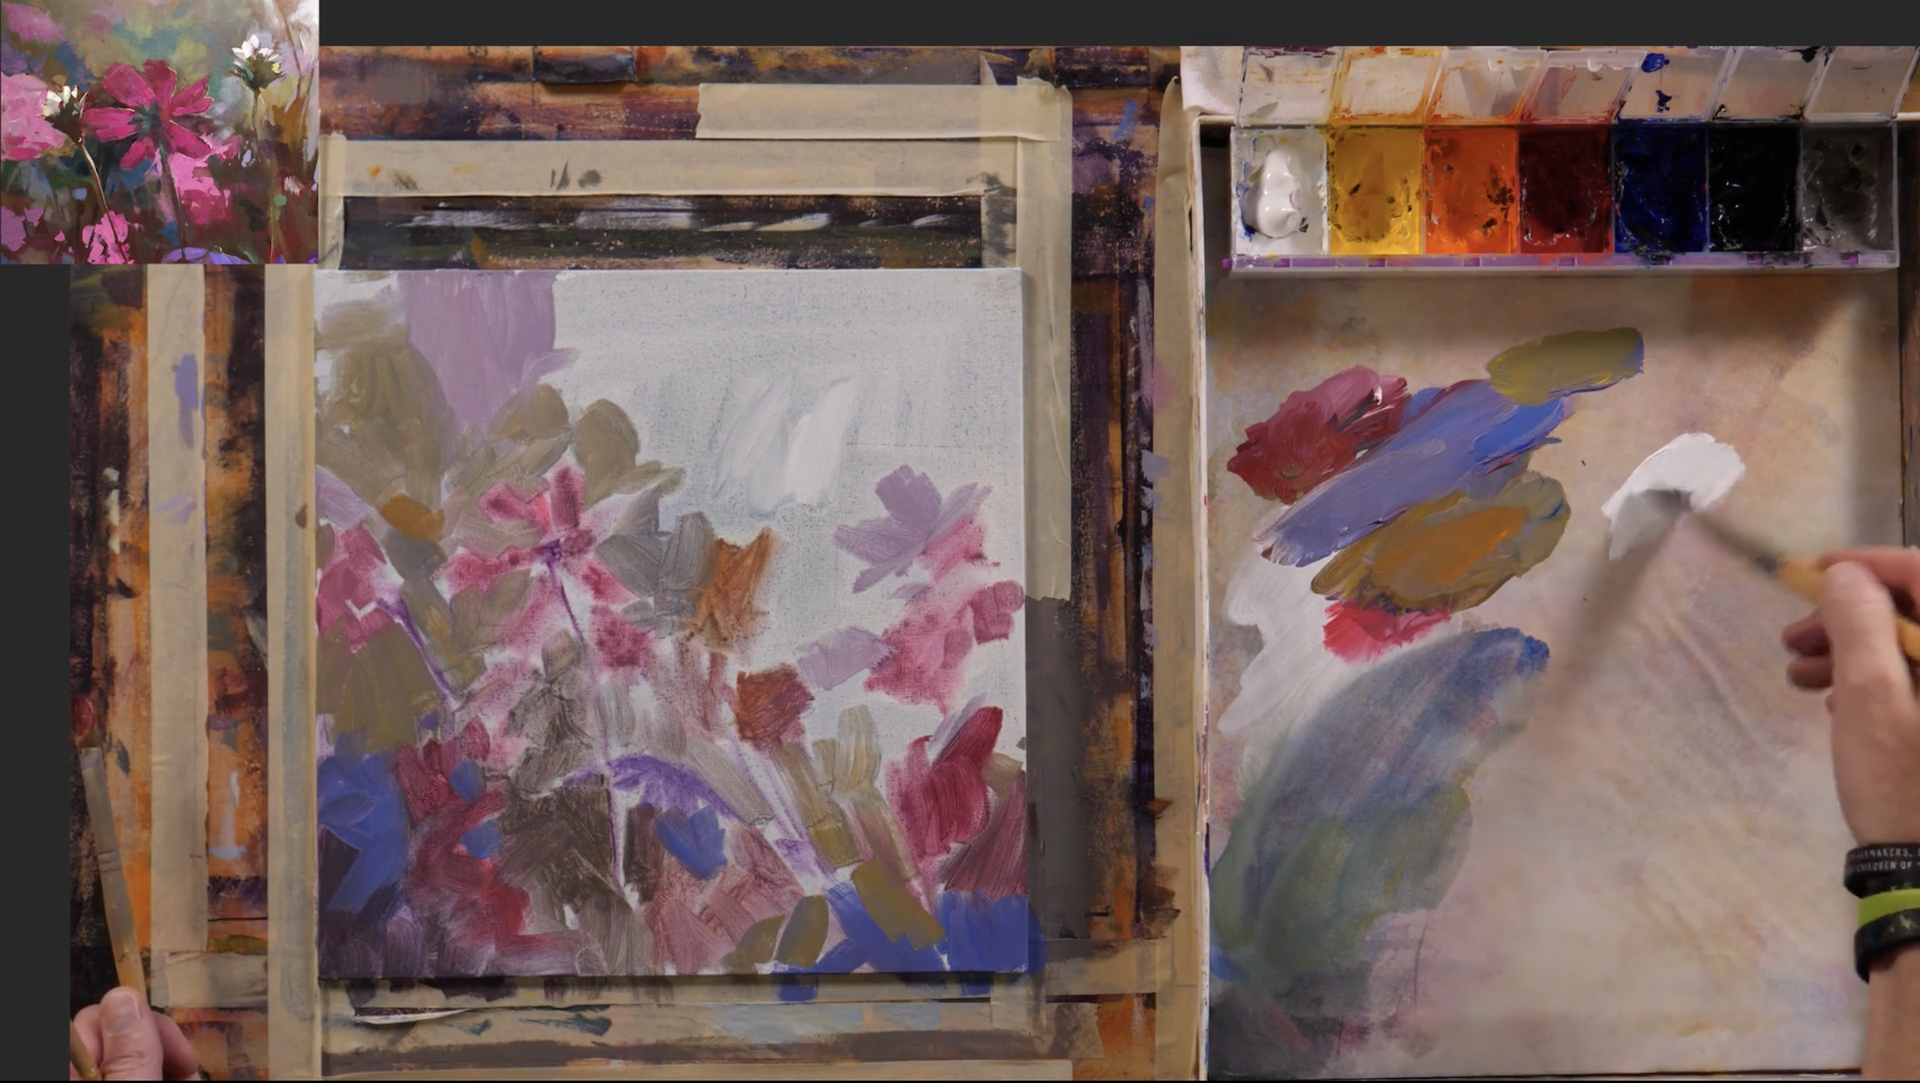
Transitional areas in a painting are crucial as they help in blending the foreground with the background seamlessly. You can use mid-tones to bridge the gap between dark and light areas. In this painting, mixing a bit of the light purple into these areas can help achieve this effect smoothly.
- Mixing for Transition: Incorporate mid-tones from the background into the darker areas to create a smooth transition.
Applying Textures and Highlights
Texture with a Palette Knife
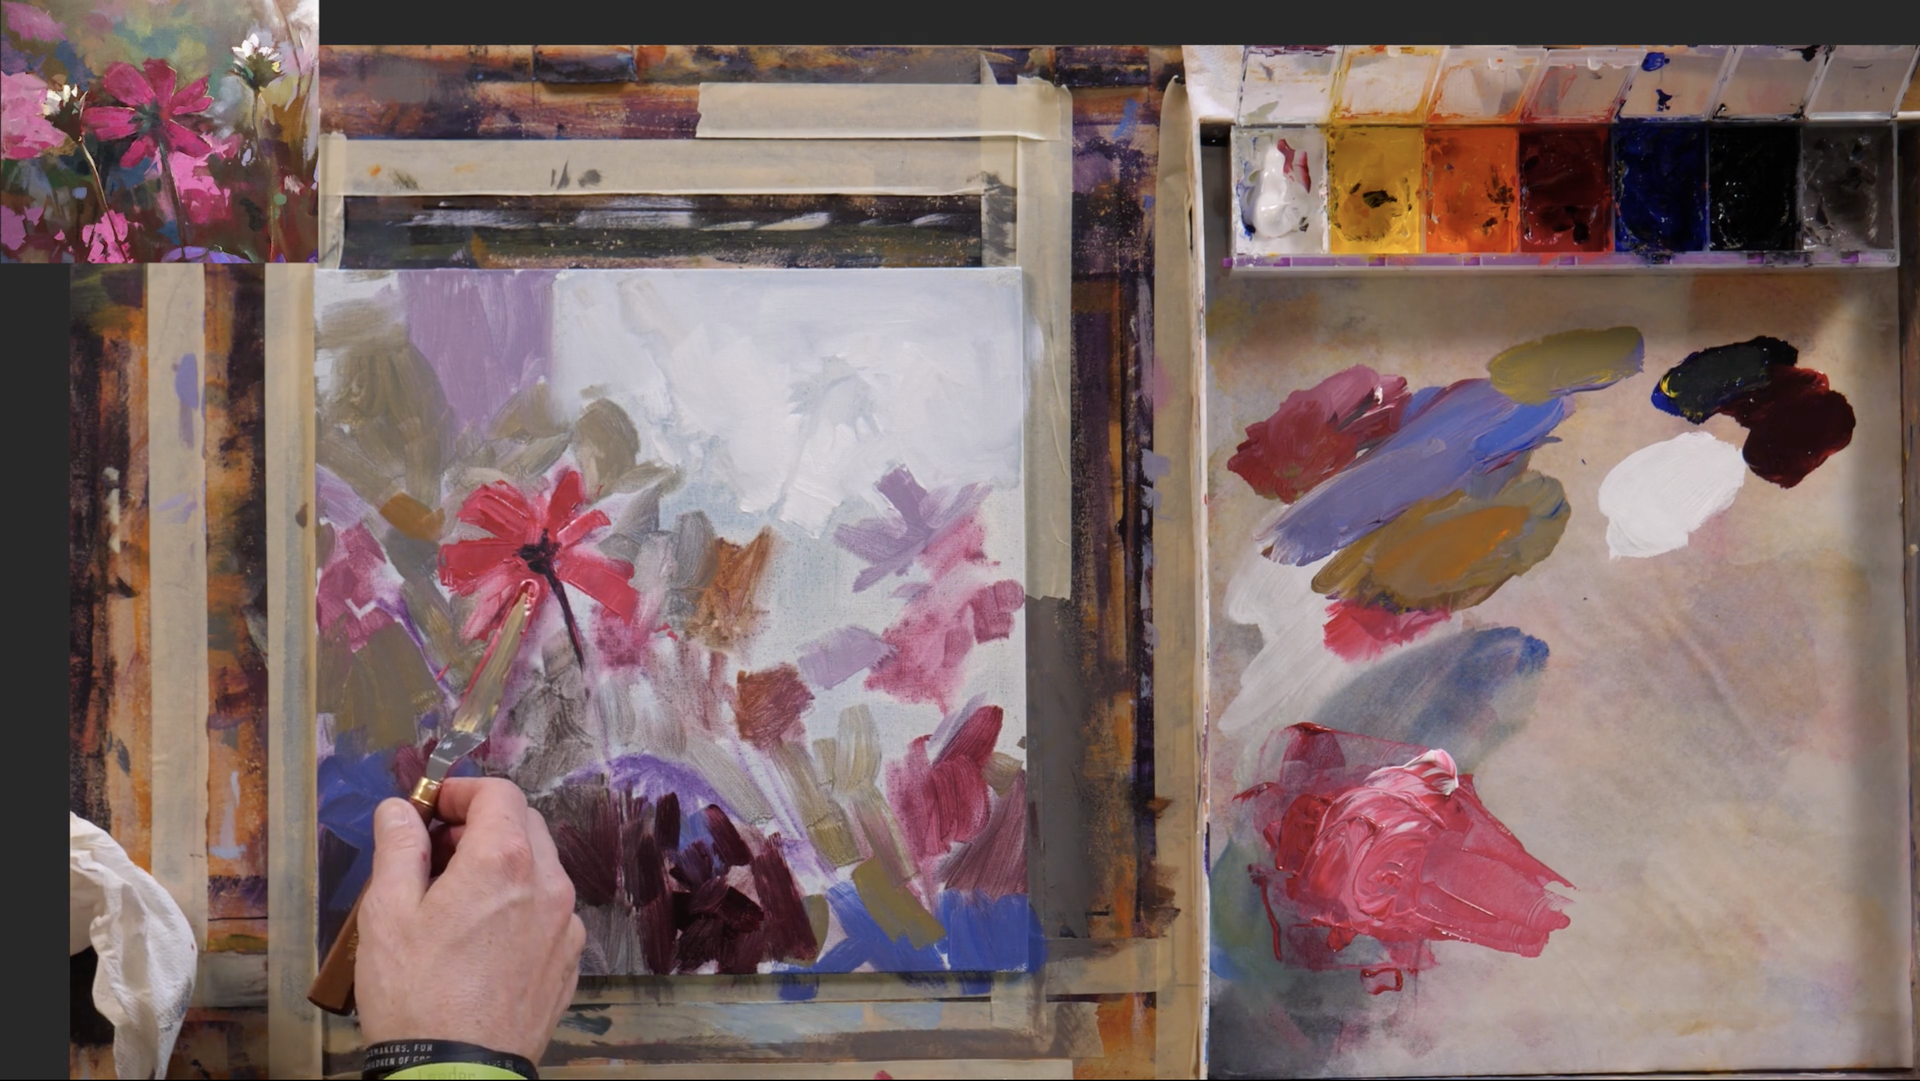
The palette knife is not just for creating straight lines or cleaning edges; it can also be used to add texture to your painting. By applying paint with a palette knife, you can create a layered, tactile effect that adds richness to the scene.
- Thick Application: Apply paint thickly with the palette knife to areas where you want to add body, such as the centers of flowers or the foreground elements. This technique gives a three-dimensional feel to the artwork.
- Scraping Techniques: Sometimes, scraping through a thick layer of paint with the palette knife can reveal lower layers of color, adding an interesting visual effect and depth.
Note: Thick paint applied with a palette knife will take longer to dry.
Blending Colors with a Palette Knife
Blending colors directly on the canvas using a palette knife can result in unique color interactions and subtle gradients that are difficult to achieve with brushes.
- Direct Mixing on Canvas: Place two colors side by side on the canvas and gently pull the palette knife through them to mix directly on the surface, creating a smooth gradient.
- Layering for Depth: Layer different colors using the knife to add depth and complexity to the painting.
Highlighting Techniques
Highlights can bring a painting to life, adding dimension and realism. For our floral scene, applying highlights strategically can make the flowers appear more dynamic and three-dimensional.
- Palette Knife Highlights: Using a palette knife, apply thin lines of white or very light paint to represent light reflecting off surfaces. This can be particularly effective on edges and ridges.
- Brush Highlights: For softer highlights, use a fine brush to gently dab light paint onto the areas you want to emphasize.
Evaluating and Refining Your Artwork
The Art of Squinting
One of the most insightful techniques in painting is squinting. By slightly closing your eyes, you reduce the detail you see and can better assess the overall composition and balance of colors and elements.
- Identifying Distractions: While squinting, look for areas that draw unnecessary attention or disrupt the harmony of the painting.
- Evaluating Balance: Check if the painting feels balanced in terms of light, color, and compositional elements.
Making Adjustments
After evaluating your painting, it’s crucial to make the necessary adjustments to enhance its overall impact. This might involve amplifying highlights, deepening shadows, or removing distracting elements.
- Refining Details: Add or remove details to improve the focal points and overall aesthetics of the painting.
- Harmonizing Colors: Adjust colors in certain areas to ensure they contribute to the overall harmony of the piece.
Evaluating the Final Composition
Take a step back and view your painting from a distance. This perspective allows you to see the work as a whole and assess the effectiveness of your adjustments.
- Overall Harmony: Ensure that all elements of the painting work together cohesively, creating a unified and pleasing composition.
- Contrast and Balance: Check that there is an appropriate balance between light and dark areas, and that the contrast levels help to draw the viewer’s eye into the painting.
Conclusion
Palette knife painting is a dynamic and expressive technique that offers a range of possibilities for creative expression. By understanding how to effectively mix colors, apply textures, and evaluate your artwork, you can create stunning, textured paintings that stand out. Remember, the key to mastering this technique is practice and experimentation. Each painting is a learning experience, helping you to refine your skills and develop your unique artistic style.
I hope you enjoyed this exploration into palette knife techniques in floral painting. Keep experimenting with different tools and techniques to find what works best for you and your artistic vision. Happy painting, and I look forward to seeing what beautiful creations you come up with next!